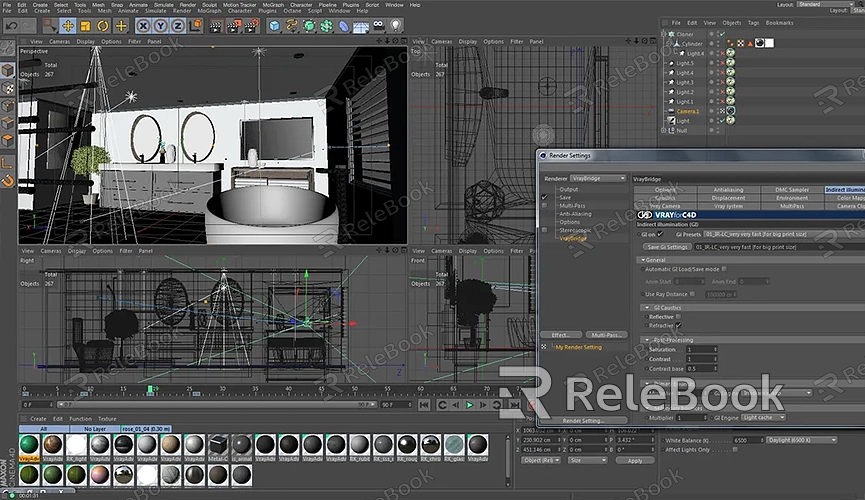
How to Render Complex Models Blender
Blender is a powerful tool widely used in the field of 3D modeling and rendering. Rendering complex models is a key feature, but many users may face various challenges during the process. This guide will walk you through the steps to efficiently render complex models in Blender, including preparation, material and texture setup, lighting and camera configuration, and the final rendering process.
Preparation
Before rendering complex models, it's crucial to ensure that the model is properly prepared. This involves cleaning up and optimizing the model to make Blender handle and render it more efficiently.

1. Optimize the Model:
- Ensure the model's geometry is clean and free of unnecessary polygons. You can use Blender’s Decimate tool to reduce excess polygons, which helps improve rendering speed.
- Check the model's normals to ensure they are correctly oriented outward. This helps avoid rendering issues.
2. Check UV Mapping:
- Make sure the model’s UV map is properly laid out with no overlapping areas. Good UV mapping ensures textures are applied accurately during rendering.
Material and Texture Setup
Materials and textures are critical factors in rendering complex models, as they directly affect the quality of the final render.
1. Create Materials:
- In Blender, go to the Materials panel to create new materials for your model. Adjust properties such as color, glossiness, and transparency to meet your design needs.
- Use Blender's Shader Editor to create more complex material effects. The Principled BSDF shader can simulate a variety of material types such as metal, glass, and skin.
2. Apply Textures:
- Add texture images to your materials. You can use the UV Unwrap tool to map textures onto the model accurately. Ensure textures are properly aligned with the UV map.
- For high-quality 3D textures and HDRI, you can download free resources from [Relebook’s texture site](https://textures.relebook.com/). They offer a wide selection of premium resources that can significantly enhance your rendering results.
Lighting and Camera Setup
Lighting and camera configuration play a crucial role in the final look of your render. Properly set up, they can make your model more dynamic and realistic.
1. Configure Lighting:
- Add various types of lights in Blender, such as point lights, spotlights, and environmental lighting. Adjust the light’s position, intensity, and color to create the desired illumination.
- Using an HDRI (High Dynamic Range Image) as an environment light can create a more realistic lighting effect. You can load HDRI images in Blender’s World settings and adjust their strength and orientation.
2. Set Up the Camera:
- Add a camera and position it to capture the best angle of your model. Use the camera's depth of field feature to add artistic effects to the image.
- Adjust the camera’s focal length and exposure to suit different rendering requirements.
Render Settings
Blender offers multiple rendering engines, such as Eevee and Cycles, for different types of rendering needs. Choosing the right engine and settings is key to achieving optimal results.
1. Choose a Rendering Engine:
- Eevee: A real-time rendering engine ideal for fast previews and shorter render times. It’s suitable for game development and real-time applications.
- Cycles: A physically-based rendering engine that delivers high-quality results. Ideal for scenes requiring precise lighting and detailed effects.
2. Adjust Rendering Settings:
- In the Render tab, set parameters such as resolution, anti-aliasing, and sample rate. Increasing the sample rate will result in better image quality, though it may lengthen render time.
- Configure other settings such as ray tracing, shadow quality, and render layers to optimize the final output.
3. Perform the Render:
- Click the Render button in Blender’s Render panel to start the process.
- Once the render is complete, review the image quality and apply post-processing as needed.
Conclusion
Rendering complex models in Blender requires careful preparation and settings. From model optimization, material and texture application to lighting, camera configuration, and render setup, each step has a significant impact on the final render. By following the correct procedures and making the right adjustments, you can produce high-quality renderings that showcase the intricate details and beauty of your complex models.
If you're looking for high-quality 3D models, you can download them from [Relebook’s model site](https://3dmodels.relebook.com/), which offers a vast range of premium 3D resources. Additionally, if you need high-quality textures and HDRI for your models and virtual scenes, you can download them for free from [Relebook’s texture site](https://textures.relebook.com/). These resources will help elevate your render quality and create stunning visual projects.

